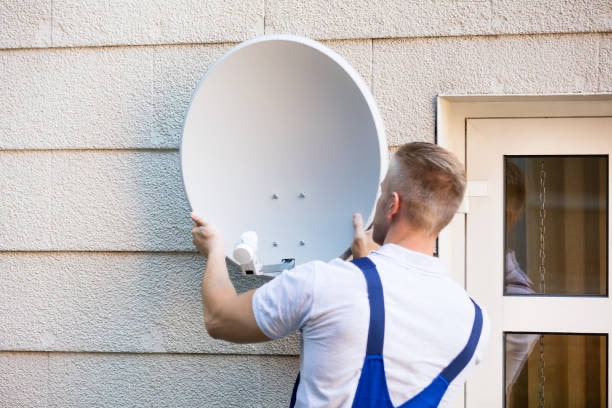
If you’re ready to enhance your TV viewing experience with an antenna installation, this step-by-step guide will help ensure you do it correctly.
Antenna installation can be tricky, especially if you don’t know what you’re doing. This guide will provide an easy-to-follow step-by-step procedure to ensure your antenna is installed correctly and safely.
Prepping the Area
Before beginning any antenna installation process, it’s essential to have the right tools and ensure the area where the antenna will reside is safe. This means taking precautions like ensuring there are no electrical wires or combustible materials nearby and keeping children or pets away from the area while working with electricity. Additionally, it’s helpful to have a ladder, screwdriver, wire cutters, connectors, and the correct type of antenna on hand before starting. Finally, if necessary, check your local building codes to ensure you use an adequately approved antenna for your location.
Attaching the Antenna Base
Once your safety measures are taken care of and all materials have been gathered, it’s time to begin attaching the antenna base portion, which holds everything together. First, measure where you plan on mounting the base and mark it off with chalk or tape if needed; this will help ensure accuracy when creating holes for screws later.
Now take the included mount plate bracket and attach it to the wall using either screw anchors (or appropriate strip anchors) or bolts that go directly into wood studs; depending on your needs, you may want to reinforce some of these units with a small dab of caulking for better stability if need be.
Mounting The Antenna Unit
Once secure, attach one side of your coaxial cable to this bracket and fasten the supplied clamp onto it. Ensure these connections are secure, so they don’t wiggle free later during use. Finally, put two lag screws (provided in the kit) through two sides of extruded support arms into pre-drilled holes already available in the mount plate bracket.
Also, use additional nuts (included in the kit) to tighten everything securely without loosening over time due to weather/vibration. Once done, tighten all nuts so they cannot be moved by hand easily but remain somewhat loose enough not to cause stress on any wires being attached.
Connecting Wires & Grounding
Next, connect one end of the coaxial cable to the backside of the antenna unit while uniting the other end to the backside jack connection box (make sure both male/female port plugs look clean & undamaged).
After the proper connection is established, move on securing the grounding wire connection by attaching one end to the ground lug/screw provided either inside near the entry point or outside somewhere towards ground level closeby; then connect the other end(s) securely at same juncture as coaxial cable allowing both them run parallel together until reaching exit point along wall’s exterior side where their paths must now split apart due their requirements—this usually involves either staple gunning longer runs along walls before ultimately inserting appropriately sized conduit covers both ends once complete.
Completing the Antenna Installation Process
Once finished with previous points, connect opposite ends awaiting external connections according to respective ports (500-ohm resistor recommended between 2nd ‘tv input’ plug & 3rd ground lug connector inside jack box); double-check the entire system making sure all connections appear tight without any leaking fluids/oil present anywhere nearby.
Reattach the antenna cover lid tightly so no foreign particles enter the unit’s interior cavity during future operations – finally, seal the entire perimeter around the entry point using weatherproof silicone caulk [this prevents water vapour condensation, which would otherwise negatively affect performance] before calling it quits!


